Disclaimer: Any products/services mentioned or recommended below are suggestions based on our own experiences. We have no affiliation with any of the products or services mentioned and you should always thoroughly and independently research your options to decide what is best for you.
Welcome to the second piece of our 6-part series on how to optimise, protect, and maintain your cPanel hosting and WordPress website!
Check out the other parts of the series here:
– 5 Tips to Optimise your cPanel Hosting for WordPress
– 5 Tips to Protect your cPanel Hosting for WordPress (you are here)
– 5 Tips to Maintain your cPanel Hosting for WordPress
– 5 Tips to Optimise your Wordpress Website
– 5 Tips to Protect your WordPress Website
– 5 Tips to Maintain your WordPress Website
One of the simplest and also most important steps in protecting your hosting account is to set highly secure passwords for all 3 protected areas: OnePanel, cPanel & your MySQL database.
Strong passwords are best generated by Password Management software (we’ll get to this in the next step). However, if you don’t intend to use a password manager, the following can be a handy guide to keep in mind when choosing your passwords.
Image courtesy of xkcd.
You’ll have a separate username & password for each of the following platforms associated with your website (there are others, such as the admin password for WordPress itself, but we will come to this later in another part of this series):
OnePanel
- Accessed here: onepanel.digitalpacific.com.au
- Username is the email you entered at sign up.
- Password was chosen by you at sign up.
To change your OnePanel password, log into your OnePanel account and click “Profile Management” on the left-hand menu, then “Update Password”.
cPanel
- Can be accessed in 4 ways;
- Via your OnePanel account. After logging in, click on “Services” on the left-hand side, then “Shared Hosting” (or “Reseller Hosting”). Next to the domain whose cPanel account you wish to access, click “Manage”, then, on the next screen, select the “Login to cPanel” button near the bottom of the page.
- You will possibly be able to access your cPanel by typing yourwebsite.com.au/cpanel into your browser (replacing with your own domain).
- You will possibly be able to access your cPanel by typing cpanel.yourwebsite.com.au into your browser (replacing with your own domain) though this method requires the appropriate “cpanel.” CNAME DNS record to still be in place. This would have been set up by default, but it is possible also to delete.
- Via your direct server cPanel link (which would have been included in your welcome email – “Hosting Account Information” – when you signed up for the hosting plan). It will look something like (but not necessarily the exact same as this): https://vmcp09.digitalpacific.com.au:2083/
- Username would have been included in your welcome email – “Hosting Account Information” – when you signed up for the hosting plan. It will usually be the first 8 characters of your domain, but may differ for various reasons.
- Password would have been included in your welcome email – “Hosting Account Information” – when you signed up for the hosting plan.
For personal, business or reseller hosting customers, to change your cPanel password, log into your OnePanel account (see above instructions), then click on “Services” on the left-hand menu, then either “Shared Hosting” or “Reseller Hosting” (depending what you have). Then, next to the service you wish to adjust, click “Manage” on the right-hand side. Lastly, click “Change Password”.
MySQL Database
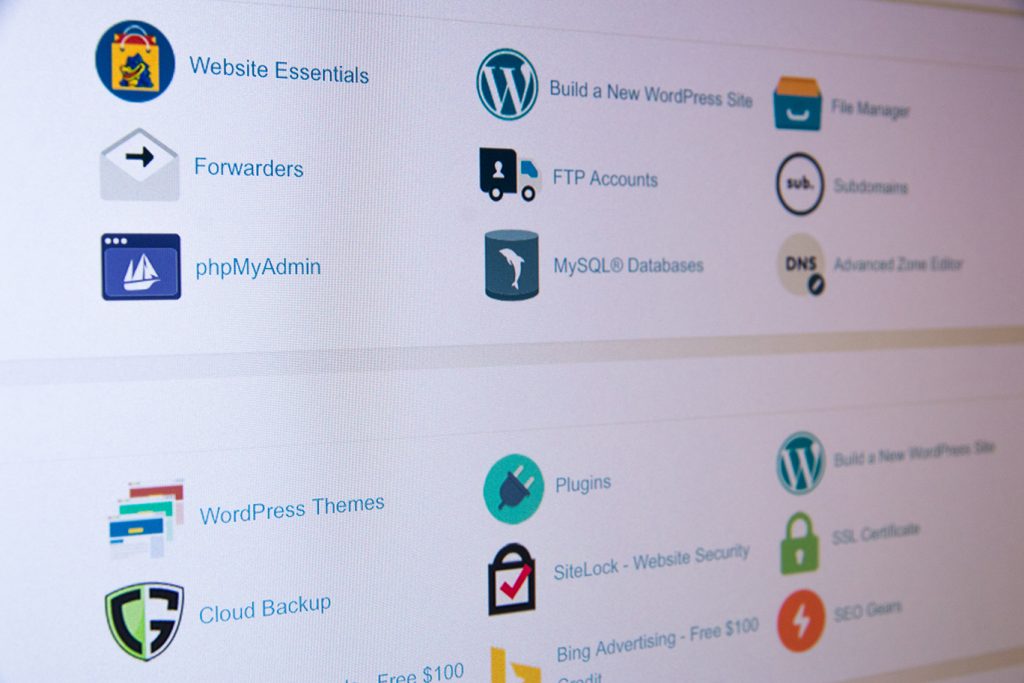
- Accessed from within cPanel (see above dot point), once in cPanel, look for the “MySQL Databases” icon.
- Username would have been provided at the time of the database’s creation.
- Password would have been provided at the time of the database’s creation.
To change your MySQL Database password, first log into your cPanel account and click on the “File Manager” icon. Then, navigate your way to your WordPress installation, usually installed directly in the public_html folder (or possibly in a sub-folder within). Once you’ve found your WordPress files, you’re going to be looking for the wp-config.php file (it will be within the top level of files/folders). Click on this file, then click “Edit” – then scroll down until you find the section where your current database details are stored. It will look something like:
/** The name of the database for WordPress */
define(‘DB_NAME’, ‘database_name_here’);
/** MySQL database username */
define(‘DB_USER’, ‘username_here’);
/** MySQL database password */
define(‘DB_PASSWORD’, ‘password_here’);
Adjust the password as you see fit and hit save. Take note of the database name and username. Next, head back to cPanel, then click on the “MySQL Databases” icon. Scroll down to the very bottom of the page and you will find your users. Select the correct username and click “Change Password” – now input the same password you chose on the wp-config.php file.
Be aware that if this database user is used in any other databases for any other websites or apps you have installed on this same cPanel, it will be affected and you may need to update the password in other areas. This is rarely going to be the case, but it is worth double checking that the user you just changed doesn’t have permissions or is being used in any other databases. You may need to check with your developer if you’re unsure. If you only have one website however, you most likely only have one database and this won’t be an issue.
Now that you’ve (hopefully) got nice strong passwords in place, you need somewhere secure to keep them. Bits of paper tend to get lost and make typing in your passwords each time a catastrophe of its own merit, and storing passwords in random text documents or similar can be just as unsafe/unreliable.
These days, it’s almost impossible not to use a Password Manager of some kind, lest your enjoy pulling your hair out on a frequent basis. Two major Password Manager solutions would be Dashlane and LastPass. Here’s a recent rundown of all the top-rated Password Managers.
An SPF record prevents spammers from sending email while forging your domain name as the sender. Adding an SPF record is essentially the act of restricting which servers may send email on behalf of your domain, locking it down to just the real ones.
Check out our handy guide on how to create an SPF record!
There are a couple of extra rules you can apply to your site by inserting the below code into your .htaccess file. These rules stop people from being able to browse your WordPress file directory (and gaining insights into potential weak spots), as well as stopping external access to your critical wp-config.php and .htaccess files.
Simply copy and paste the below code to the bottom of your .htaccess file a line or two below whatever is already in your .htaccess file. Your .htaccess file can be reached by logging into your cPanel account and clicking on the “File Manager” icon. Then, navigate your way to your WordPress installation, usually installed directly in the public_html folder (or possibly in a sub-folder within).
# Disable Directory Browsing in WordPress
Options -Indexes
# Protect wp-config.php from Unauthorized Access
<files wp-config.php>
order allow,deny
deny from all
</files>
# Protect .htaccess from Unauthorized Access
<files ~ “^.*\.([Hh][Tt][Aa])”>
order allow,deny
deny from all
satisfy all
</files>
The computer(s) on which you access your website should themselves also be protected to ensure that no malware finds its way in. Malware can be devastating, allowing the intruder to steal all of your usernames, passwords, and even take over your website/domains.
A quality antivirus/firewall software for your computer will certainly help in this department. Three of the most popular antivirus software suits at the moment are McAfee, Bitdefender, and Norton. Here’s a recent rundown of the top-rated Antivirus protection options.
Check out the other parts of the series here:
– 5 Tips to Optimise your cPanel Hosting for WordPress
– 5 Tips to Protect your cPanel Hosting for WordPress (you are here)
– 5 Tips to Maintain your cPanel Hosting for WordPress
– 5 Tips to Optimise your Wordpress Website
– 5 Tips to Protect your WordPress Website
– 5 Tips to Maintain your WordPress Website
Feature Image Illustration designed by Freepik
Tip Image Illustrations designed by Piktochart


